

|
Although
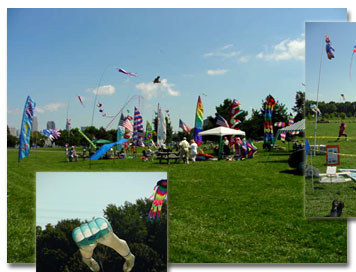
the contest is over, you could still learn about kite design and
activities. See the archived Kite Broadcast of the event. NASA
Glenn Learning Technologies Project sponsored two Centennial
of Flight Kite Design Contests, Contests - August 20 and September 7, 2001. Winners
were invited to participate in our September 27th Kite
Broadcast (archived video) These
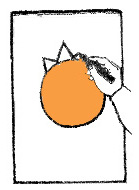
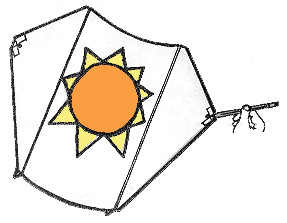
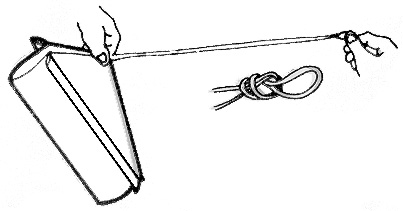
contests are for our six state region: After receiving your kite, follow the instructions below. Pay particular attention to step two: coloring your kite. You will want to put some effort into this step as the kites are being judged on their design merit. In case you need to obtain the bags used in this design from another source they are 14" x 211/2" in size and are standard white department store bags. Also included here are Pre-Activity Questions that can be posed to your class. Click here for Answers. In 1896 the death of German Glider pilot Otto Lillienthal sparked an interest in flying for Wilbur Wright. By 1899, he had read just about everything on aeronautics that was available at the time. By observing birds in flight Wilbur realized that a flying machine would have to have wings to provide lift and a mechanism to control it as well. With his brother Orville, Wilbur built a kite to experiment with theories of lift and drag. To control the motion of the kite, they used wing warping or twisting of the wings using cables. To read more about the Wright Brothers' Process of Invention and their path to flight, you can visit the Wright Brothers Centennial of Flight Site. Below
are listed some links that may give you some ideas for designing
your kite, as well as help troubleshoot any problems you may encounter
while building and/or flying your kite.
|
||||||||||||||||


Please send any comments to:
Web Related: David.Mazza@grc.nasa.gov
Technology Related: Thomas.J.Benson@grc.nasa.gov
Responsible NASA Official: Theresa M. Scott (Acting)