Beginner's
Guide to Propulsion
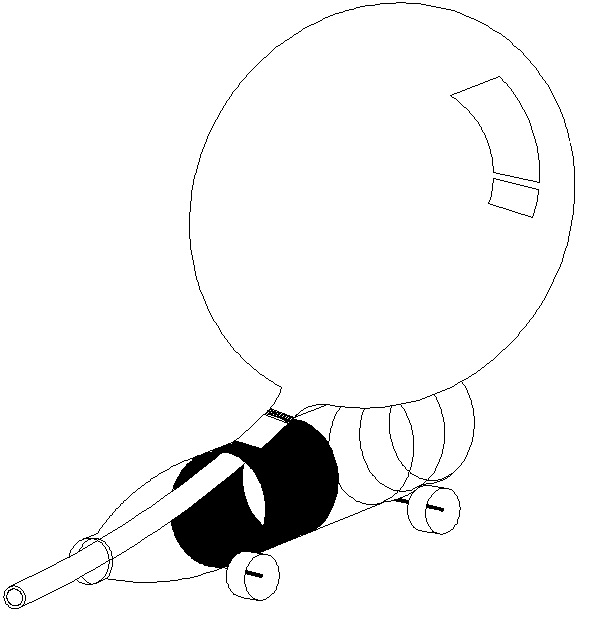
Balloon Rocket Car (Easy) Activity
Summary
 Students will learn the concepts of Newtons Law of Motion, friction, jet propulsion,
and air resistance by designing and constructing a balloon powered rocket car.
Students will learn the concepts of Newtons Law of Motion, friction, jet propulsion,
and air resistance by designing and constructing a balloon powered rocket car.
Objective
To build a Balloon Rocket Car that can extract the most energy out of the inflated
balloon and make the vehicle travel the longest distance.
Background Information
The thrust of a jet engine is similar to the thrust produced in the balloon rocket car.
When the balloon is blown up the air is pushing on the balloon skin keeping it inflated.
Covering the nozzle of the balloon keeps this high pressure air trapped and at this point
all the forces are balanced. Once the nozzle is opened the forces inside the balloon are
no longer balanced and the high pressure air wants to escapes through the nozzle which
produces thrust and makes the car accelerate. Similarly, in a jet engine the air enters the
engine where it is compressed and heated to create a high pressure region which is then
accelerated through a nozzle to produce a thrust force.
This principle follows Newtons Second Law of Motion, Force= mass x acceleration.
Otherwise stated, if an object is acted on by an unbalanced force it will undergo an
acceleration. The amount of acceleration depends on the force and the mass of the object.
Engines must provide enough thrust to overcome the forces of drag on the aircraft as shown
in the illustration below.
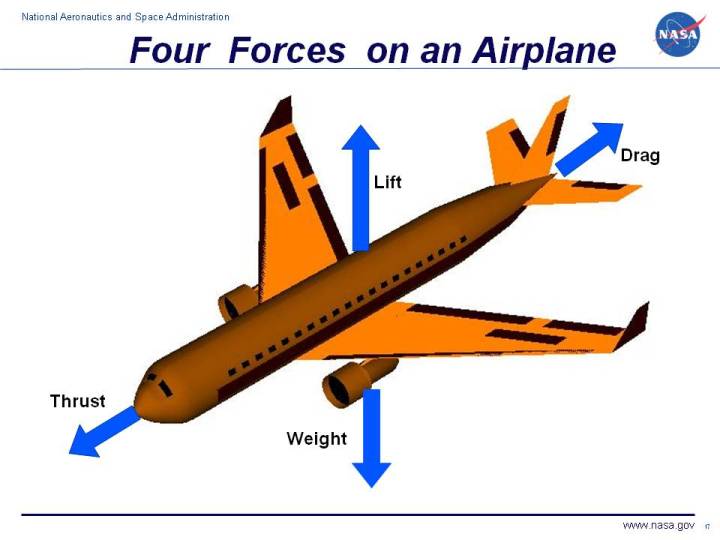
This can also follow Newtons First Law of Motion, an object at rest will stay at rest and an object in
motion will stay motion in a straight line unless acted upon by an unbalanced force.
Therefore the forces pushing the engine and aircraft forward should be stronger than the force
of the drag. Likewise the thrust of the balloon rocket car must be more than the forces acting on the car itself.
What forces are acting on the balloon rocket car? There are two main forces acting on the
balloon rocket car: Friction and Air resistance. The friction force is the resistance between
two objects sliding against each other. While building your car identify the places where objects
will be rubbing against each other creating friction. Air resistance is also another form of friction
where an object is sliding against air particles. You can experience this air resistance when riding
a bike and the wind is hitting your face. You must pedal fast enough to overcome the wind.
The rocket car has the greatest air resistance when fully inflated and begins moving because
there is more area that has to push past the air particles.
One last item to consider before constructing the balloon rocket car is how the nozzle size will
affect the distance the car will travel. Keep in mind the nozzle size will determine how much
pushing force (thrust) the balloon will create. The greater the size the greater the thrust but
the faster the air will escape. The smaller the nozzle the smaller the thrust but the car may roll longer.
Materials
- Water Bottle (Chassis)
- Balloon, Vinyl Tubing, rubber band (Motor)
- Wooden Skewers and straws (Axle)
- Various Materials for wheels
- Tape
Procedure
- Each team is provided with a kit to construct their Balloon Rocket Car.
- Teams are to select a nozzle (vinyl tubing) size and wheels they would like to use on their car.
Keep in mind how the size may affect how far the car will go.
- Each team should select an individual in charge of blowing up their balloon.
Note: Blow the balloon up a couple times to stretch it out.
- Assemble the Chassis and Suspension:
a. Cut the straw into two pieces. The length should be equal to the width of the water bottle.
b. Tape the two straw pieces underneath the water bottle where you feel the front and rear wheels should go. Keep the straws lined up so the car travels in a straight line.
c. Cut two pieces of the wooden skewer. The length should be between an inch to an inch and a half longer than the straw that was taped to the bottle.
d. Put one end of each wooden skewer through your wheel. If the wheel is loose on the skewer use modeling clay to hold in place.
e. Slide the skewers through the straw and attach the rest of the wheels to the skewer.
f. Now you should have a rolling chassis!
- Assemble the Motor:
a. Insert the nozzle part way into the balloon.
b. Use a rubber band and secure the nozzle to the balloon.
c. Insert the nozzle through the slit on the top of your water bottle.
d. Make sure about an inch of the nozzle is sticking out of the mouth of the bottle.
e. Now your team is ready to test!
- Make your way over to the test track.
Blow the balloon up and pinch the balloon at the base
so the air wont escape.
- Line the Rocket car up on the starting line and when the track is
clear release the balloon.
- Record the distance the car went.
- Each team is allowed to change the car once
(adjust wheels and/or nozzle) but the team may run the car on
the track as many times as they feel necessary.
Internet Resources
This activity is taken from the following resources below:
Home Science Tools
http://www.hometrainingtools.com/balloon-rocket-car-project/a/1346/
SAE A World in Motion (AWIM) JetToy
http://www.awim.org/curriculum/jettoy/